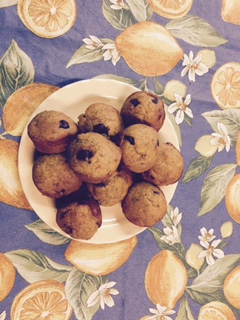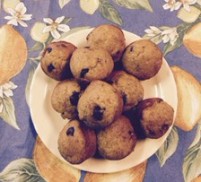
These muffins are for Nichols Plant Day, Saturday, May 16th, 2015.
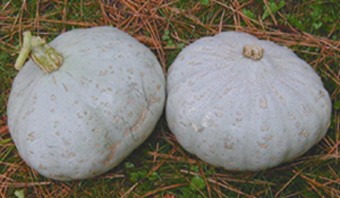
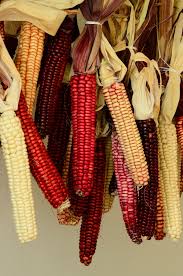
Katy’s Sweet, Sweet Meat type winter squash, upper left, has a smooth, rich flavor and is also one of the sweetest winter squash varieties. It stores well for the winter pantry. The squash run 7-12pounds, I split them open, remove seeds, turn flesh onto the pan and cook slowly at 325 fahrenheit. Pierce the rind and when it gently gives and you start to see some juice running the squash is cooked. There usually more than than can be eaten at one sitting so I often freeze extra in a one quart container and sometimes when a friend comes by I’ll ask if they would like a piece of cooked winter squash. Almost always, the reply is “Cooked?, Why yes.” Let me add this squash turns sweeter after picking. we harvest in October before frost and always enjoy it at Thanksgiving on through March.
A local gardener who loves this squash has developed his own Katy’s Sweet Squash muffin recipe. He generously comes by with these at least once and sometimes twice a year.
Katy’s Sugar Meat Muffin Recipe
2 eggs
1 cup cooked Katy Stoke’s Sweet Meat Squash
¼ cup vegetable oil
¼ cup milk
1½ cup sugar (we adjust to ¾ cup)
1 teaspoon baking soda
¾ teaspoon baking powder
1 teaspoon Vietnamese cinnamon
1 teaspoon ground allspice
1 teaspoon salt (may reduce or omit)
1 ¼ cup unbleached flour
½ cup wholewheat flour (or simply use 1 ¾ cup unbleached)
½ cup chopped walnuts
½ cup milk chocolate chips…the milk chocolate melds better with the squash than standard semi-sweet. Chocolate chips are optional but very good.
Preheat Oven to 400 degrees F.
Place eggs , oil, cooled squash, and milk into a bowl or mixer and whip. Sift sugar, soda,baking powder, cinnamon, allspice, salt and flour. (I double sift)
With a large spoon mix ingredients until lightly moistened. Stir in walnuts and chocolate chips. Fill muffin or cupcake pans 2/3 full. Bake for 15 – 18 minutes. If using mini muffin trays bake for 10 to 12 minutes.
Fill muffin cups with paper liners or mist cups with a 50% oil/50% water emulsion from a small sprayer. Yield is 12 regular size muffins or 24 mini muffins.
Katy Stokes began selecting this variety in 2,000. One plant produced superb squash, she carefully selected her seed for planting the following year and did this for eight years. Every year she only planted seed from squash with the quality she sought. And now she supplies us with planting stock each year from only the very best and has developed a fine variety that is an ideal size for most household.
Katy Stokes began selecting this variety in 2,000. One plant produced superb squash, she carefully selected her seed for planting the following year and did this for eight years. Every year she only planted seed from squash with the quality she sought. And now she supplies us with planting stock each year from only the very best and has developed a fine variety that is an ideal size for most households.
Filed under: Food, Gardening, Nichols Garden Nursery Special, Recipes | Tagged: muffins, Nichols Plant Day, winter squash | 1 Comment »


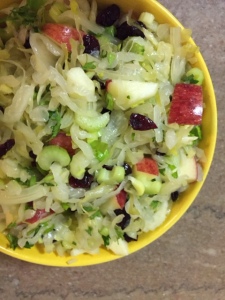
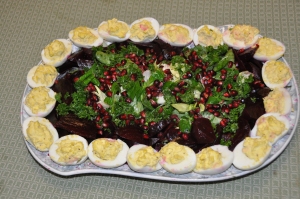
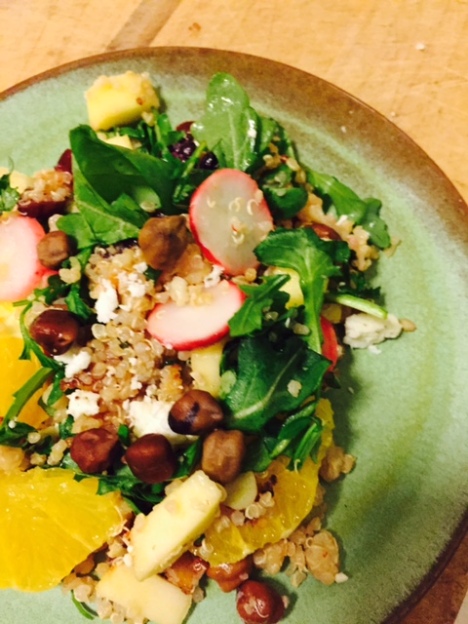 Yesterday’s salad was based around the ever reliable kale. It’s getting a little tough but stripping it off the stem, tearing it into small pieces and then massaging with a small amount of olive oil renders it rather succulent.
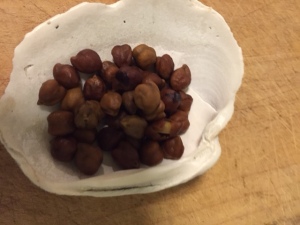 Decided to simmer it three minutes like we often do with any bean. Set it aside and tasted a bean that was nearly cooked, gave it another round of three minutes at a steady simmer and repeated. So all in all pretty impressed and it has a fine flavor.